Are you looking to loosen your hip flexors and improve your flexibility? If so, then you’ve come to the right place! In this blog post, we will guide you through the step-by-step process of performing the Yoga Frog Pose. By following these instructions, you will be able to target and stretch your hip flexors, helping to alleviate stiffness and tension in the area. So, let’s get started on this transformative journey towards hip flexor freedom!
How to Do the Step-By-Step Yoga Frog Pose to Loosen Your Hip Flexors
Introduction
Are you struggling with hip flexor tightness? Do you find it hard to move your body freely? If so, you’re not alone. Many people suffer from tight hip flexors, which can lead to discomfort and limited mobility. One effective way to loosen your hip flexors and improve your overall mobility is by practicing the Yoga Frog Pose. In this article, we will guide you through the step-by-step process of performing this pose correctly and provide useful tips to stay safe while practicing. Whether you’re a beginner or an experienced yogi, this pose might be the solution you’ve been looking for.
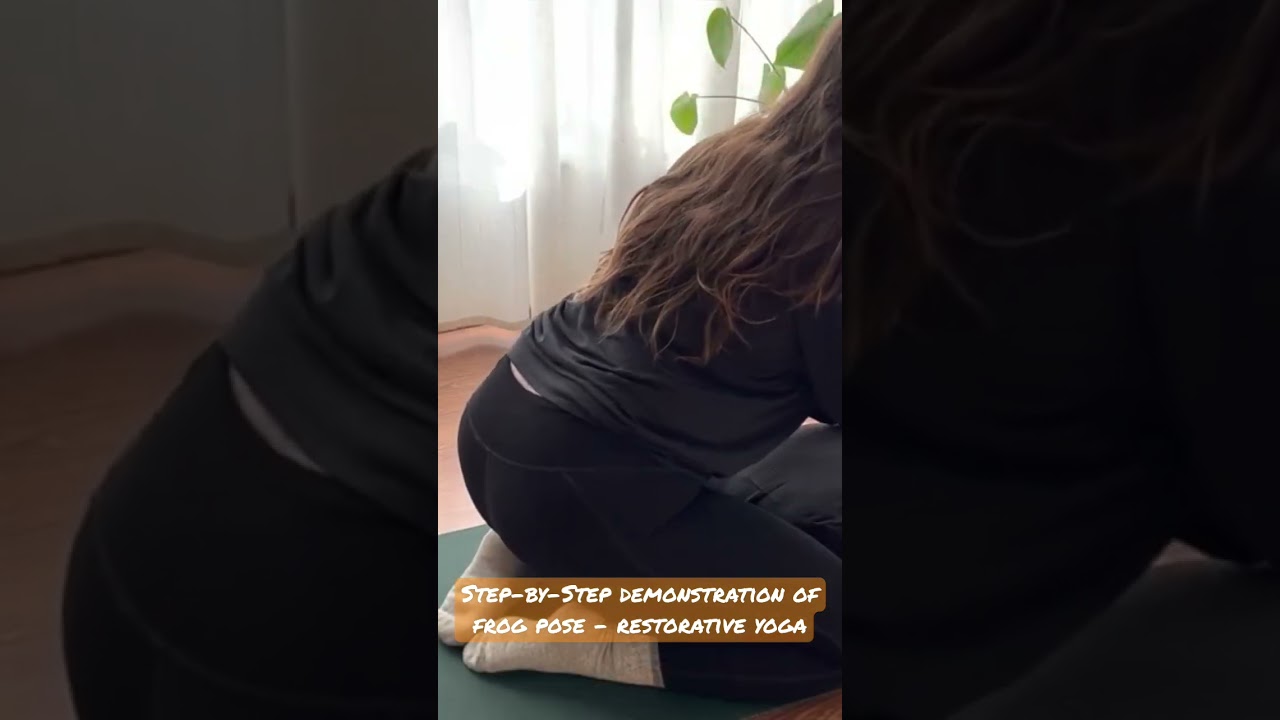
Step-By-Step Guide to Yoga Frog Pose
To perform the Yoga Frog Pose correctly, follow these simple steps:
-
Start in a tabletop position: Begin by positioning yourself on all fours, with your hands below your shoulders and knees below your hips. Ensure that your wrists are parallel to the front of your mat, and your fingers are spread comfortably apart.
-
Separate your knees: Slowly move your knees apart, wider than your hips. Your inner thighs should be parallel to the edges of your mat. Align your ankles with your knees, forming a 90-degree angle.
-
Point your toes outward: Flex your feet and point your toes outward, away from your centerline. This position will help target the hip flexors more effectively.
-
Engage your core: Take a deep breath in and engage your core muscles. This will provide stability and prevent unnecessary strain on your lower back.
-
Lower your hips: Begin to lower your hips towards the floor, keeping your back straight and aligned with your spine. You should feel a gentle stretch in your inner thighs and hip flexors. If you experience any discomfort or pain, adjust the depth of your squat accordingly.
-
Relax your upper body: Allow your upper body to relax and sink towards the floor. Place your forearms on the mat, with your elbows directly beneath your shoulders. You can rest your forehead on your hands or just keep it lifted.
-
Hold the pose: Hold the Yoga Frog Pose for 30-60 seconds, breathing deeply in and out. As you hold the pose, focus on relaxing your muscles and deepening the stretch in your hips.
-
Release the pose: To release the pose, slowly lift your hips back up, inch by inch, until you’re back in the tabletop position. Shake out your legs and take a few moments to rest before continuing with your practice.
Tips for a Safe Practice
While performing the Yoga Frog Pose, keep the following tips in mind to ensure a safe and effective practice:
-
Listen to your body: Pay attention to your body’s limitations and only go as deep into the pose as feels comfortable for you. Avoid pushing yourself too hard, as this may lead to injury.
-
Warm up before practice: Before attempting the Yoga Frog Pose, warm up your body with a few rounds of Sun Salutations or other gentle stretches. This will prepare your muscles for the deeper hip opener.
-
Support your knees: If you experience discomfort in your knees, place folded blankets or yoga blocks under them for support. This modification will help alleviate any strain in the joint area.
-
Engage your core: To protect your lower back and maintain stability, engage your core muscles throughout the pose. Drawing your navel towards your spine will provide a strong foundation for the rest of your body.
-
Breathe deeply: Maintain a steady and rhythmic breath during the pose. Deep breathing not only helps you relax but also helps release tension in the hip flexors.
-
Modify as needed: If the full expression of the Yoga Frog Pose is too intense for you, try using props such as blocks or bolsters to elevate your upper body. This modification will decrease the depth of the stretch while still allowing you to receive its benefits.
Conclusion
The Yoga Frog Pose is a powerful hip opener that can help alleviate tension in your hip flexors and improve your overall mobility. By following the step-by-step instructions provided in this article, you can safely practice this pose and experience its benefits. Remember to listen to your body, warm up properly, and always prioritize your safety while performing any yoga pose. So, why wait? Roll out your mat and give the Yoga Frog Pose a try.
FAQs
1. How often should I practice the Yoga Frog Pose to see results?
To experience noticeable improvements in your hip flexor flexibility and overall mobility, aim to practice the Yoga Frog Pose at least three times a week. Consistency is key.
2. Can the Yoga Frog Pose help with lower back pain?
Yes, the Yoga Frog Pose can provide relief for lower back pain by stretching the hip flexors and releasing tension in the lower back muscles. However, it’s important to consult with a healthcare professional if you have chronic or severe back pain.
3. Can beginners safely practice the Yoga Frog Pose?
Yes, beginners can safely practice the Yoga Frog Pose by starting with a wider stance and gradually increasing their depth over time. Remember to listen to your body and make modifications as needed.
4. Are there any variations of the Yoga Frog Pose?
Yes, there are several variations of the Yoga Frog Pose that you can explore once you feel comfortable in the basic pose. Some variations include lifting one foot off the ground, adding a twist, or transitioning into other poses.
5. How does the Yoga Frog Pose improve overall mobility?
The Yoga Frog Pose targets the hip flexors, inner thighs, and groin muscles, which tend to become tight due to prolonged sitting and lack of movement. By regularly practicing this pose, you can improve your range of motion, flexibility, and overall mobility in these areas.